Smart Leak Sensor Placement 2026: Catch Water Problems Without False Confidence
Where to place smart water leak sensors, how to pair alerts with real inspection habits, and what renters and homeowners should not automate away.
A smart leak sensor is a small early-warning tool, not a plumbing repair plan. It can tell you that water reached a specific spot. It cannot prove that the wall cavity is dry, that a shutoff valve works, or that a slow leak has not been happening somewhere else for weeks. This guide was prepared with official moisture, mold, flood, ventilation, tenant-rights, and home-safety sources checked on May 29, 2026. Use it to place sensors where they shorten response time, while still inspecting the actual pipes, appliances, drains, and surfaces that cause water damage.
Start with the water map, not the device box
Walk the home before pairing anything. Mark where water enters, where water is heated, where it is used, where it drains, and where it can pool unnoticed. In a small apartment, that may be the kitchen sink, bathroom vanity, toilet base, water heater closet, washer area, and HVAC condensate line. In a house, add the basement, sump pump, refrigerator ice maker, dishwasher, attic equipment, and any crawlspace access you can safely inspect. The goal is to choose locations where a sensor gives you an actionable alert, not places that merely look tidy in a product photo.
| Location | Why it matters | Better sensor position | What to inspect first |
|---|---|---|---|
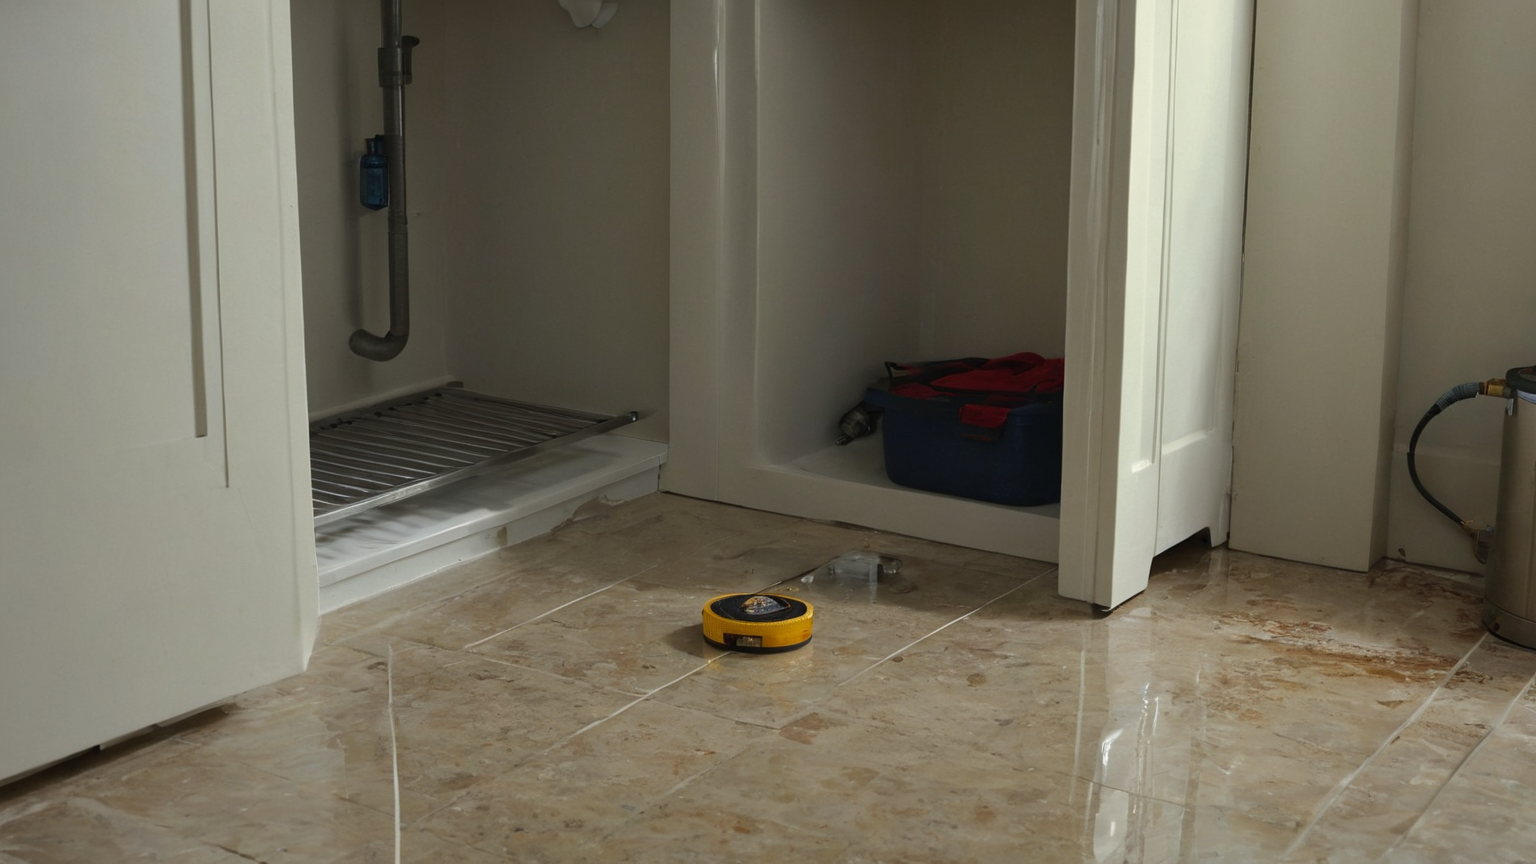
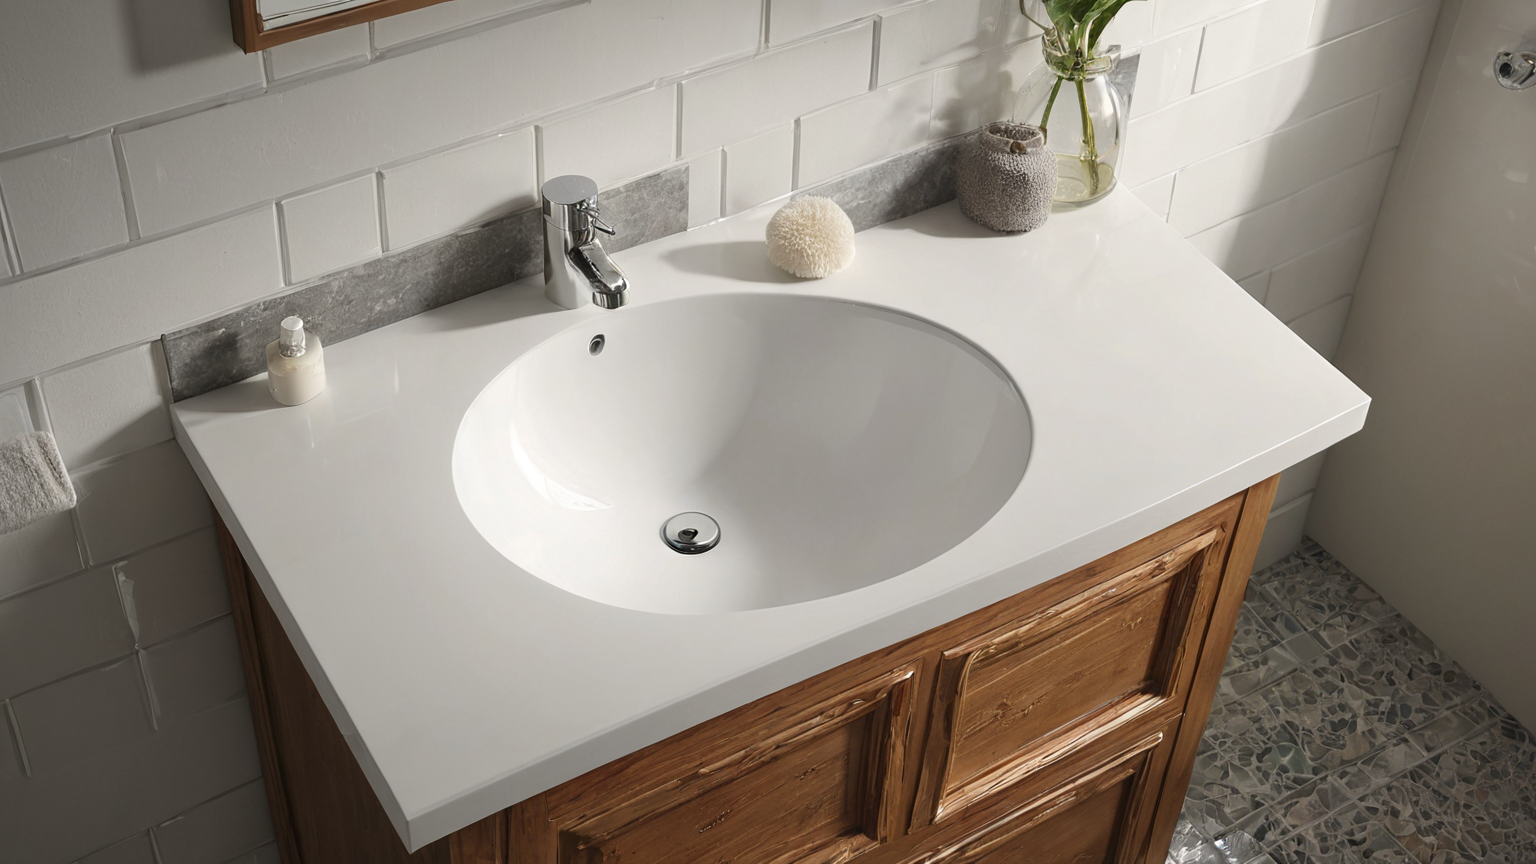
| Under sink | Slow supply or drain leaks can soak cabinets | Lowest dry point near pipes, not touching stored cleaners | Stains, swelling, loose fittings, musty odor |
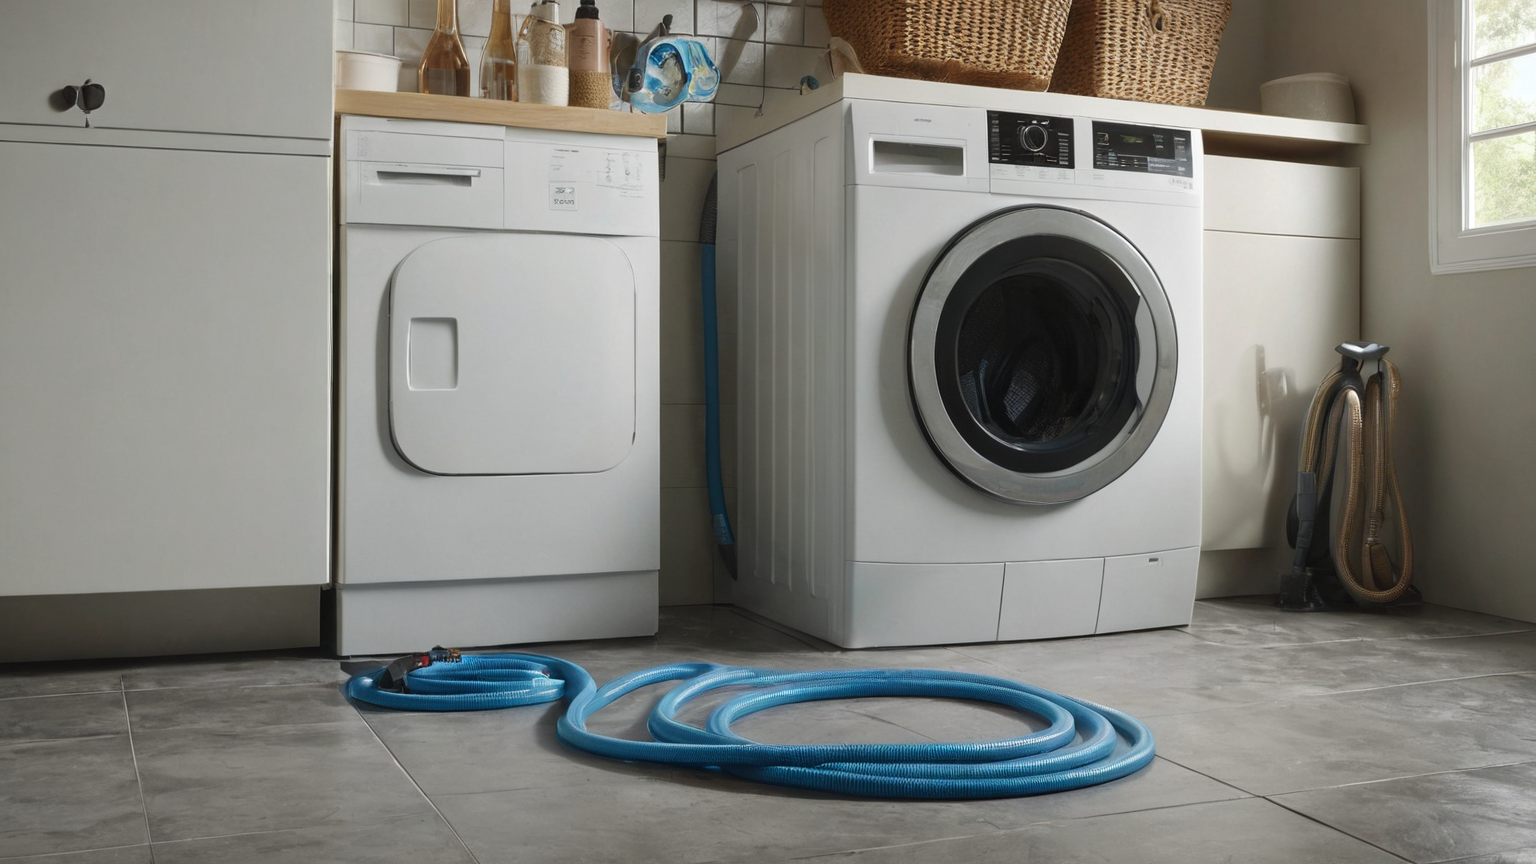
| Washer | Hose or pump leaks can spread quickly | Floor near hose side or pan edge | Hoses, pan, shutoff access, lint and clutter |
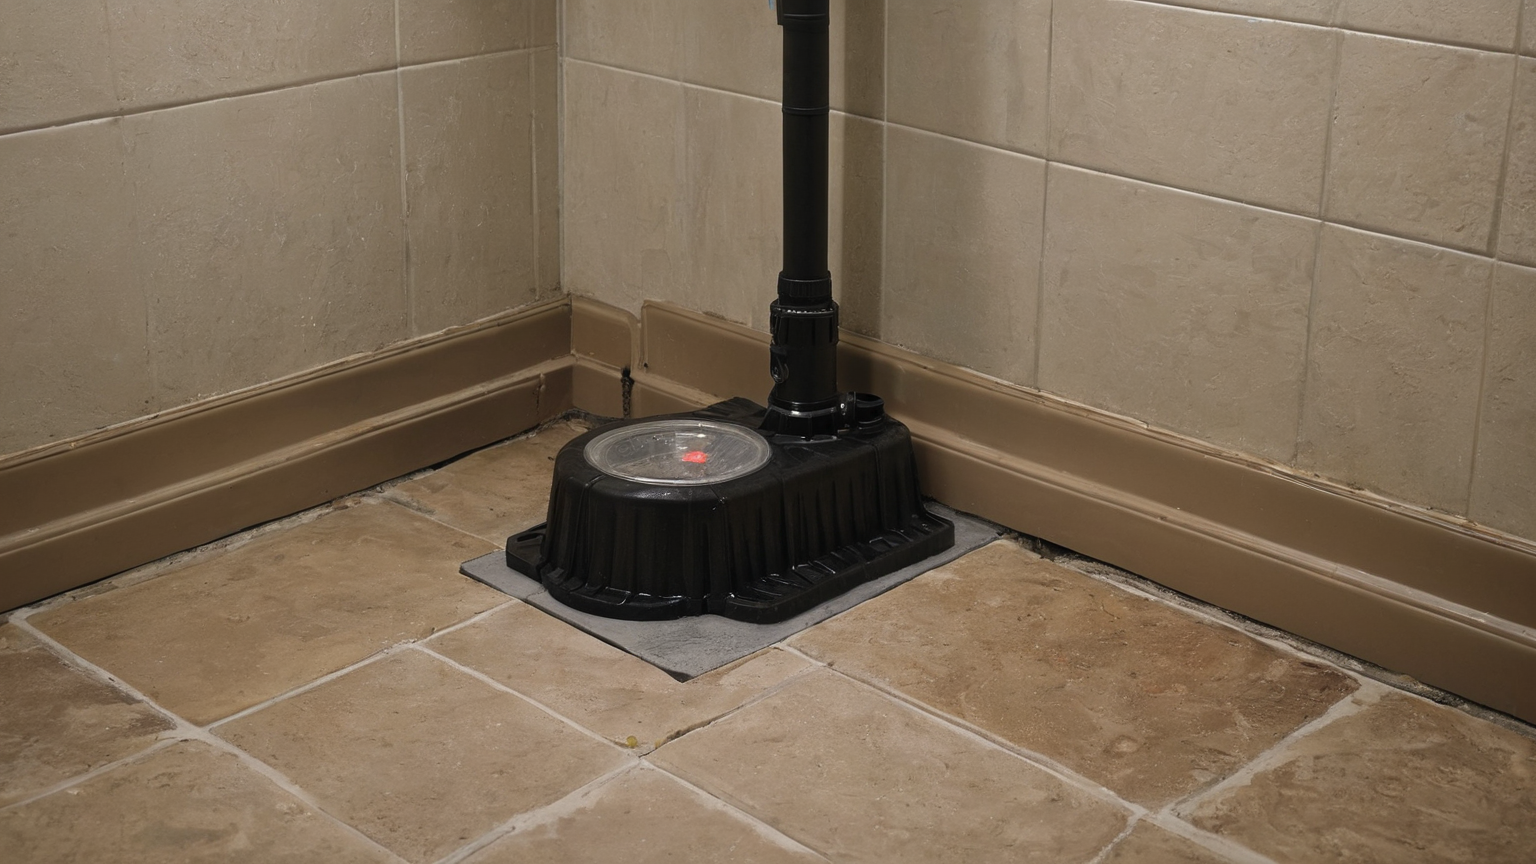
| Water heater | Tank, valve, or drain-pan problems need quick response | In pan if allowed, or on floor path water would take | Pan drain, corrosion, valve access, age label |
| Bathroom | Toilet and vanity leaks may hide behind storage | Near supply line or toilet base, away from splash | Soft flooring, caulk gaps, condensation vs leak |
| Basement/sump | A failed pump or seepage can escalate | Low point that stays dry in normal conditions | Pump power, discharge path, stored boxes |
Put sensors where water will arrive early
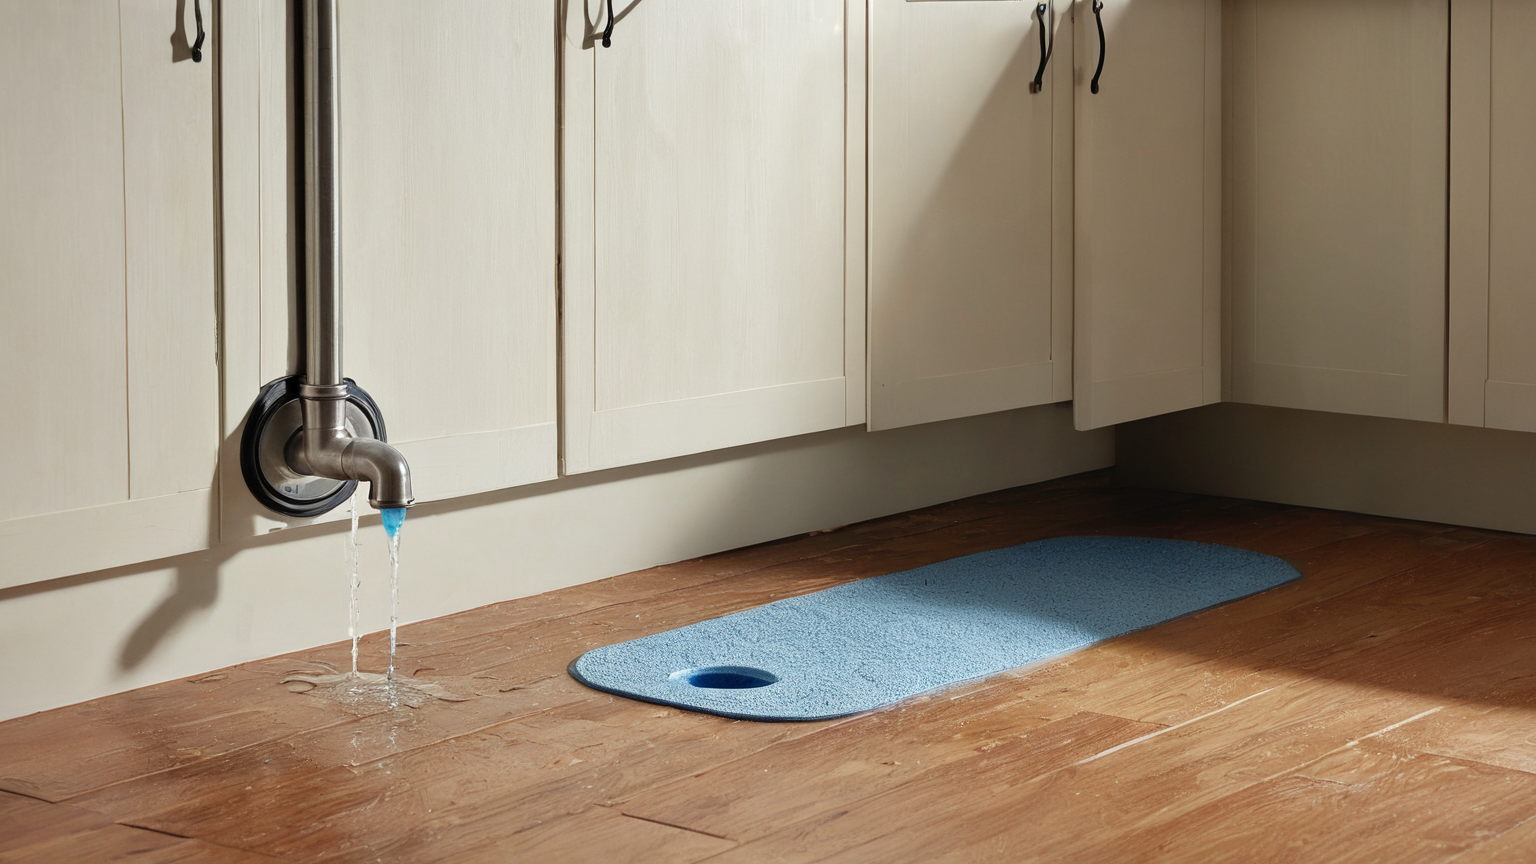
A sensor behind three bins will not help if water reaches the hallway first. Place it on a stable, flat surface where the first pooling water is likely to touch the contacts. Avoid putting the device directly under routine splash, mop water, pet bowls, or condensation drips that cause nuisance alarms. If the space has a slope, test with a tablespoon of water on a towel or a careful visual check of the floor pitch rather than guessing. In cabinets, keep cleaning products from blocking the sensor and avoid chemical spills that could damage it.
Decide who acts on each alert
Every alert needs an owner and a first action. If a washer sensor alarms, who is home, who can close the supply valves, and who checks the floor below? If a rental unit sensor alarms while you are traveling, can a trusted person contact the building manager? Smart-home notifications that go only to a silent phone at night are weaker than a simple plan: loud local alarm, push notification, shared household alert, and a written note near the shutoff valves. For high-risk areas, test whether alerts still arrive when Wi-Fi is down or whether the device depends completely on the hub.
Do not hide moisture with automation
Some systems can trigger a smart shutoff valve or start a fan. That can reduce damage, but it can also create false confidence. A fan may dry visible water while the source keeps leaking. A valve may stop a supply leak but not a roof, drain, sump, or groundwater problem. After any alarm, inspect the source, adjacent surfaces, and the area below. EPA and CDC mold guidance emphasize controlling moisture; the practical smart-home translation is simple: stop the water, dry the material, document what happened, and repair the cause.
Renter-safe placement rules
Renters should avoid drilling, modifying plumbing, or attaching devices where removal will damage finishes unless the lease or landlord allows it. Use freestanding sensors, removable labels, and a shared written record. If you see active leaks, soft flooring, persistent mold odor, electrical hazards, or water near outlets, report the condition through the required channel and keep photos and dates. A leak sensor is helpful evidence, but it is not a substitute for maintenance rights, insurance documentation, or urgent safety action.
Make a monthly maintenance loop
Once a month, press the test button, confirm the battery level, clean dust from the contacts, and check that the device has not been kicked away from the risk point. Open cabinets, look behind stored items, and smell for mustiness. Twice a year, review notification recipients and replace any sensor that has corroded contacts or unreliable alerts. After storms, long trips, appliance repairs, or plumbing work, do an extra walk-through. The best system is boring: sensors stay in predictable locations, alerts are tested, and people know how to respond.
Quick decision tree
- Is there active water? Stop using the fixture if safe, shut off the relevant valve if you know it, protect people from electrical hazards, and document the scene.
- Is the material already wet or musty? Drying the surface is not enough; inspect adjacent surfaces and consider professional help when water entered walls, flooring, or ceilings.
- Was it a false alarm? Move the sensor away from routine splash or mop zones, but keep it on the path a real leak would take.
- Did no alert arrive during a test? Replace batteries, check hub range, and do not trust the location until a test notification reaches the right people.
Bottom line
Place leak sensors where water will touch them early, connect each alert to a human response, and inspect after every alarm. The device is the messenger. Moisture control, repair, drying, and documentation are the actual protection.